About Data sharing
The CISM has setup two web services for sharing data:
- Nextcloud, which acts as a DropBox-like service. It can be connected to the mass storage infrastructure to enable sharing of data from the mass storage servers to collaborators outside UCLouvain through protected download web links (URLs).
- Dataverse, which is a platform that allows publishing datasets along with a DOI for easy and permanent referencing from published papers.
Access and conditions
- Nextcloud is accessible at https://nextcloud.cism.ucl.ac.be with your CISM account
- Dataverse is accessible at https://dataverse.uclouvain.be with your UCLouvain portal account. The web interface allows creating an account independent of the UCLouvain portal account but that option is reserved for external collaborators and should seldom be used in practice.
Nextcloud
Nextcloud is a tool, similar to Dropbox, that allows sharing files easily through the web. It is the most convenient way to give access to your file on the storage to colleagues who live abroad.
Nextcloud is accessed through the following URL: https://nextcloud.cism.ucl.ac.be. You will need to use your CISM login and password. The default storage space in Nextcloud is very small ; it is primarily dedicated to sharing files that are on the storage. To do so, you will need to configure your Nextcloud profile and enter your CISM login and password.
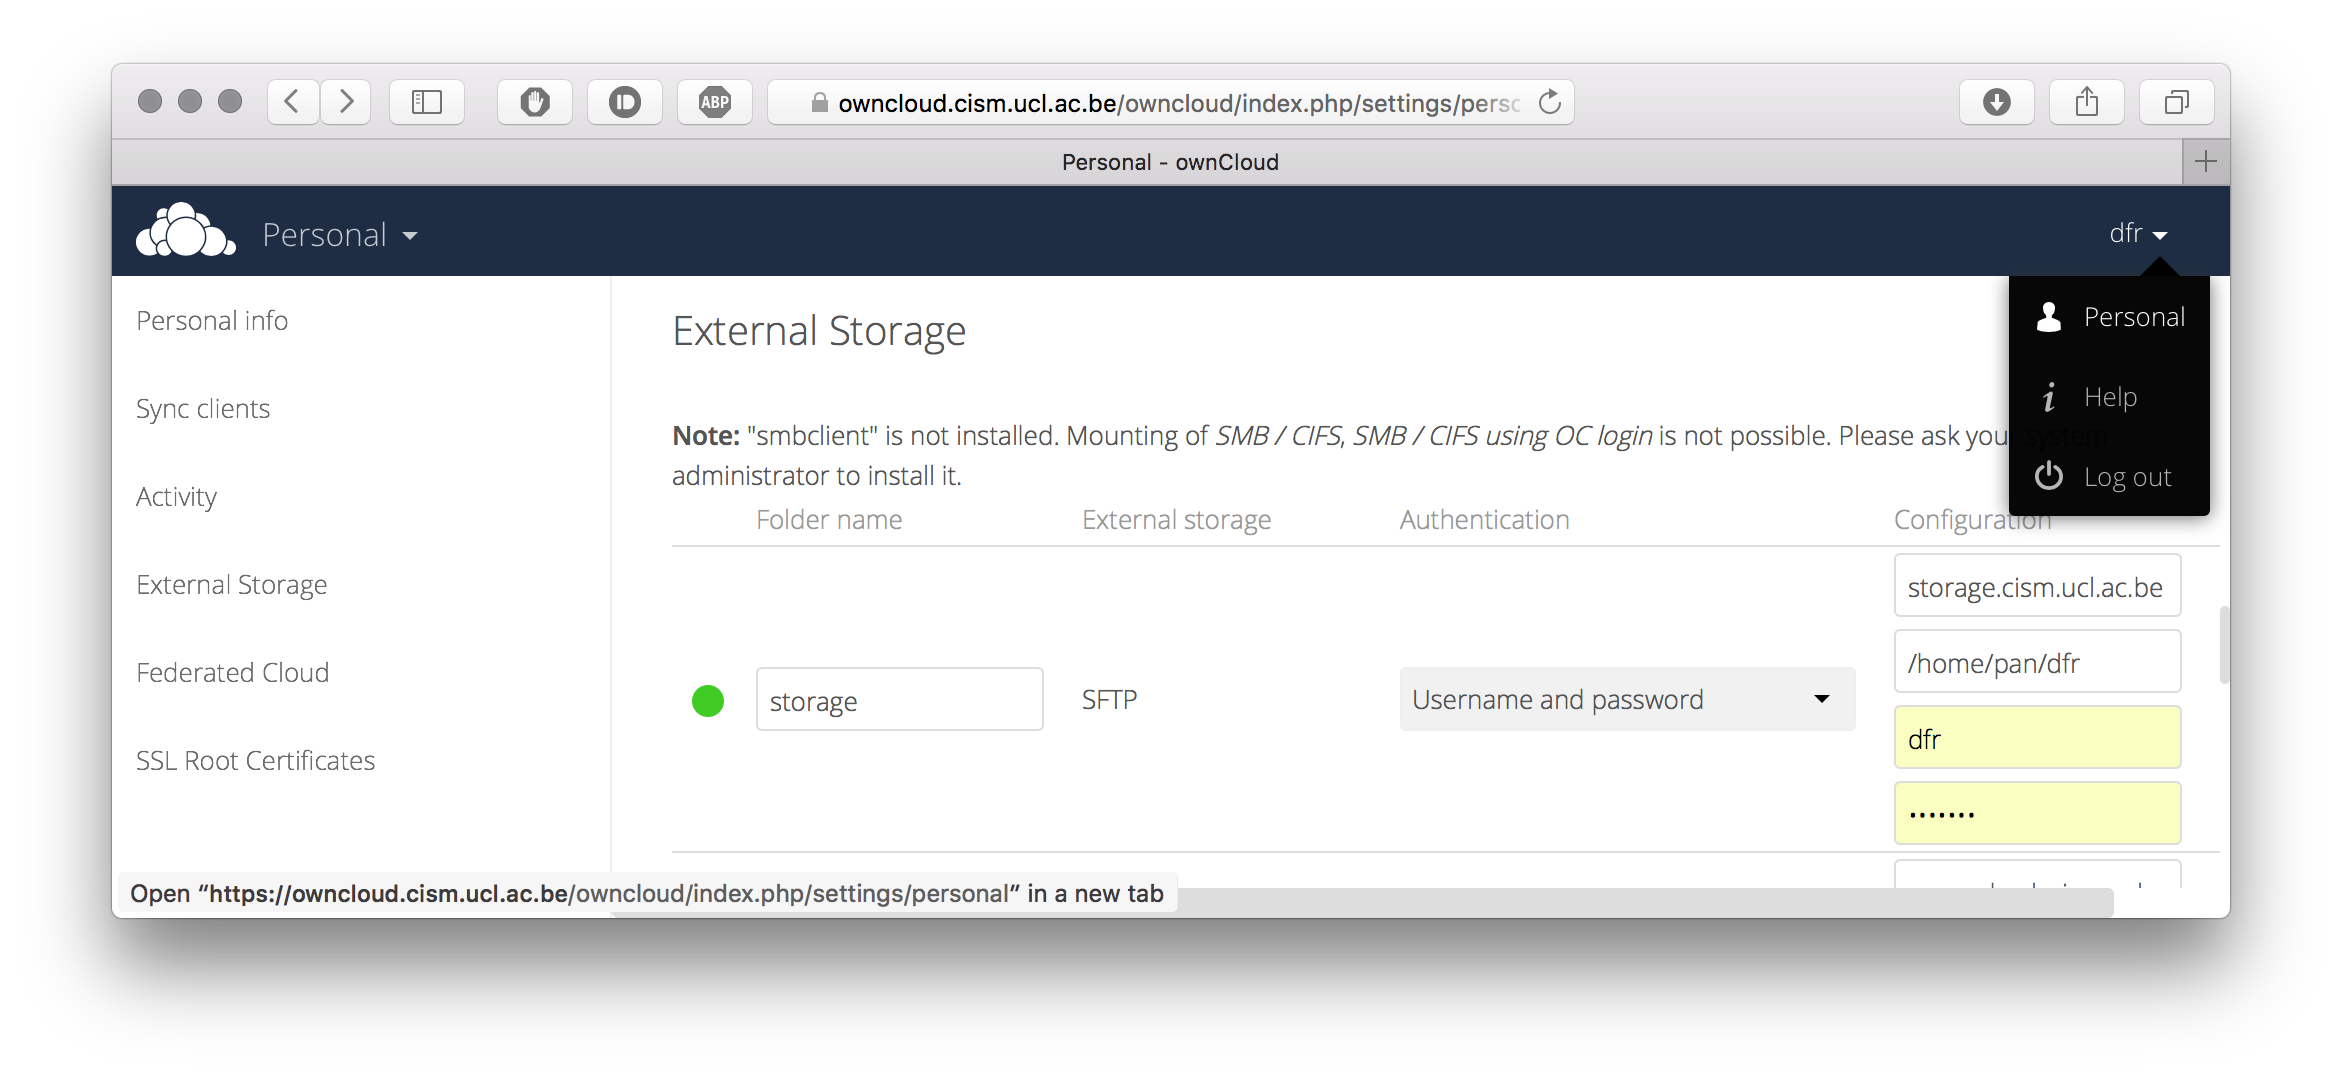
Once connected, click on the triangle near your login, and choose ‘Personal’. Then click on ‘External Storage’ and give the name you want it to have in your Nextcloud space, choose SFTP as protocol, and ‘Username and password’ as Authentication. Then enter storage.cism.ucl.ac.be, your home directory (which you can discover by typing pwd when you are connected to the storage server), your CISM login and password.
Once done, you will have a new folder in your Nextcloud space that lists the contents of your space on the storage servers.
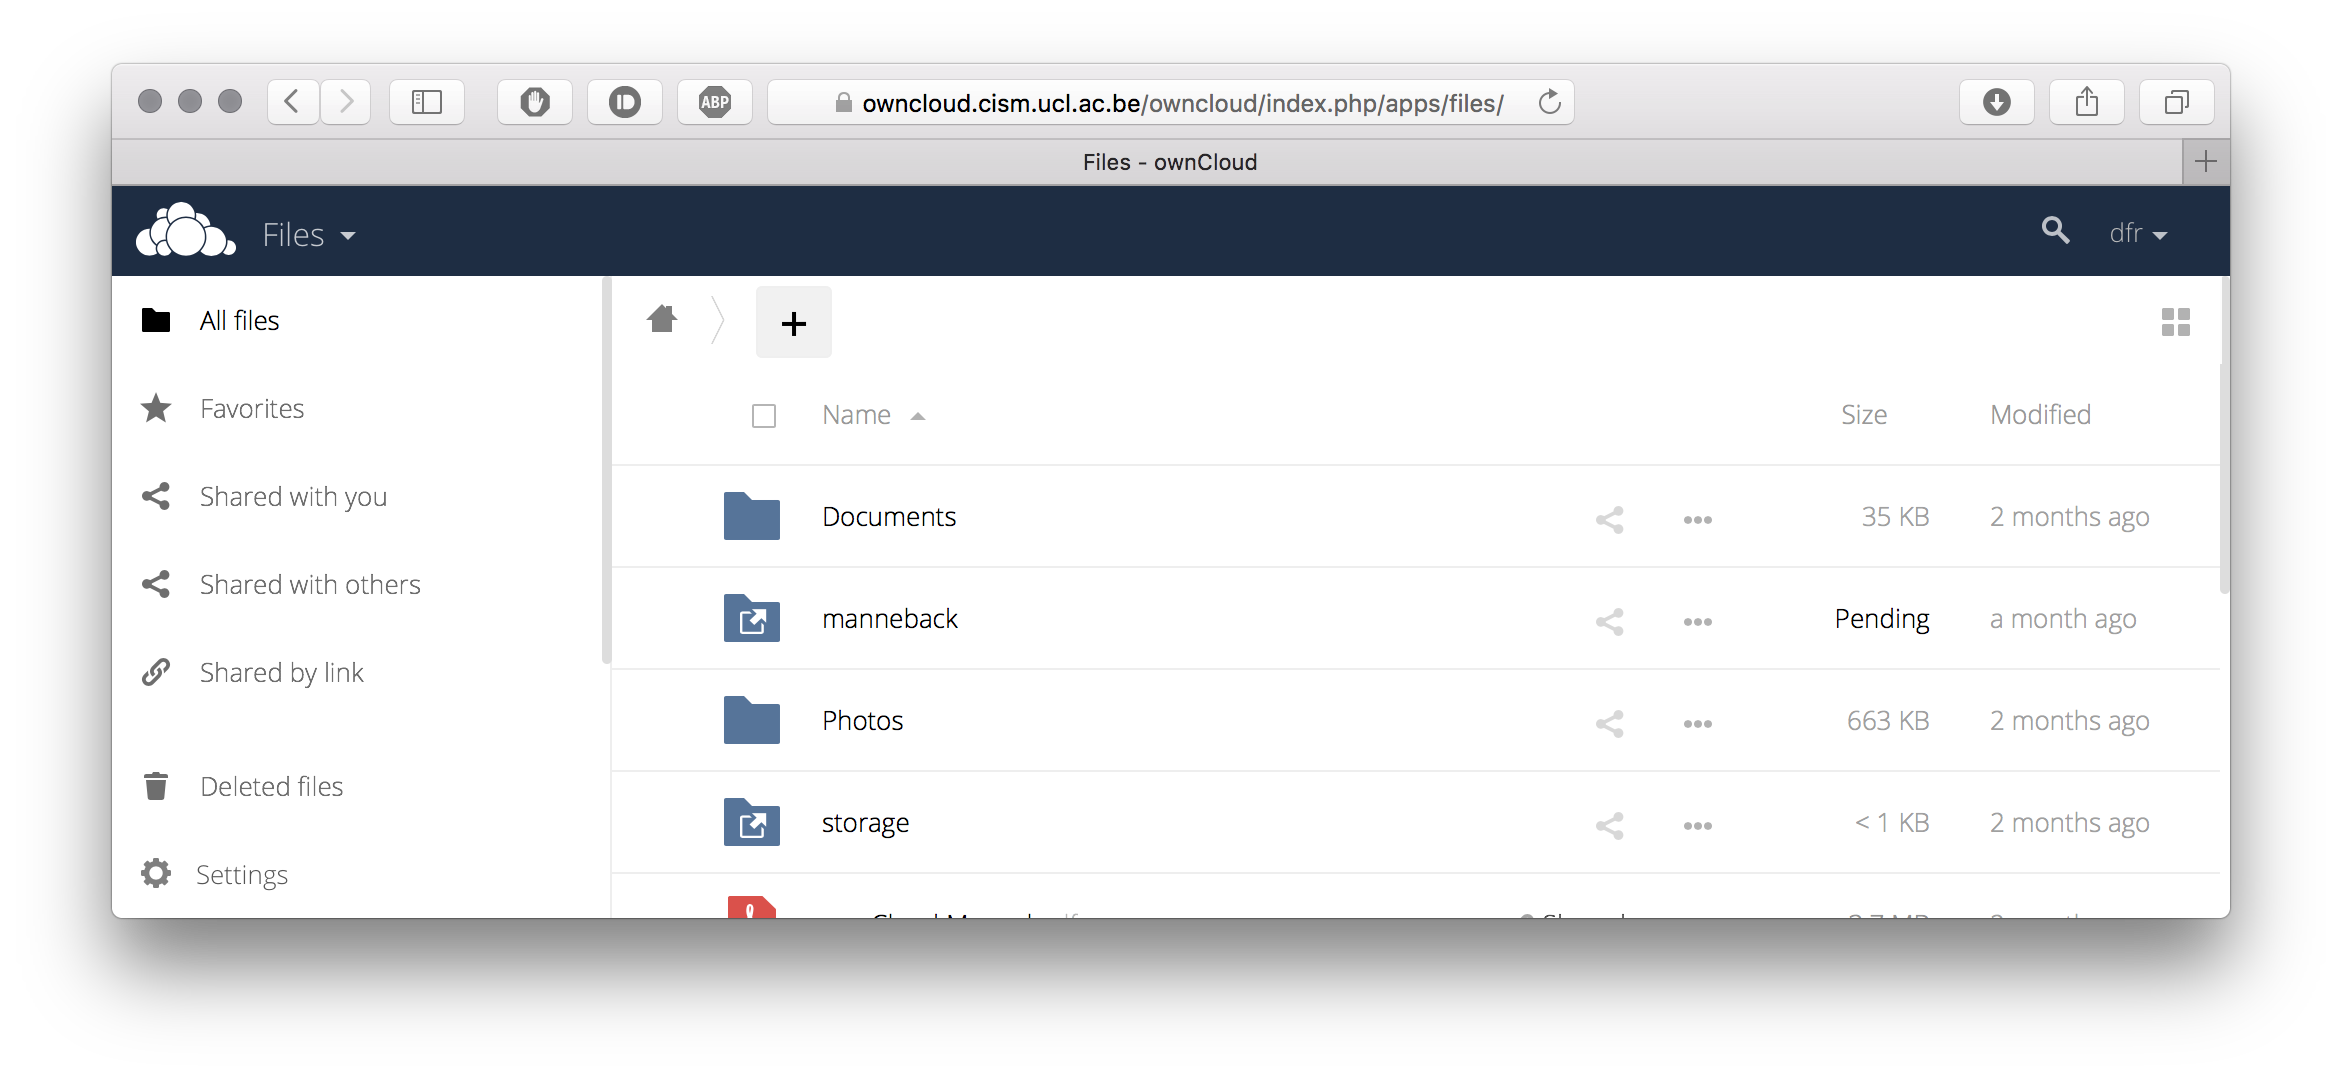
From there you can use Nextcloud’s sharing features to exchange files with other colleagues.
Dataverse
Dataverse is a tool to publish data in a similar way papers are published. It allows submission, review, and publication of data associated with published articles, and more generally to embrace Open Data.
The UCLouvain Dataverse website is https://dataverse.uclouvain.be. To authenticate, in the login form, choose “Catholic University of Louvain” and click “Continue”.
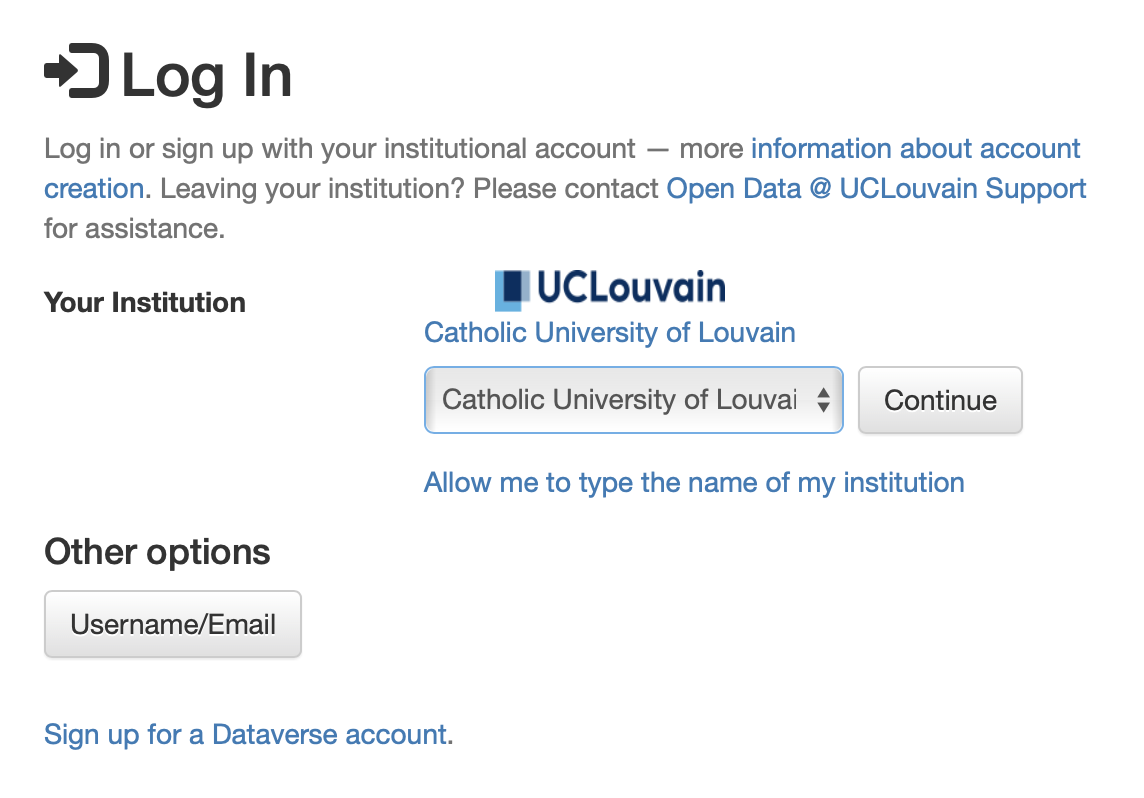
You will then be redirected to the UCLouvain single sign on where you will enter your UCLouvain global login and password. Once you are authenticated, you will see the Dataverse home page.
Datasets are organised in groups named Dataverses. The hierachy of dataverses follows the hierarchy of the University.
Dataverse creation
The creation of a dataverse for an institute or a department must be requested by the head of the institute or department. They must first login once to https://dataverse.uclouvain.be so that their login is created, and then send an email through the “Contact” link in the upper right corner, with the following information:
- name of the institute or department ;
- name of the parent institution in the case of a department ;
- link to the logo of the department or institute, and,
- optionally; the name of a person to which the administration of the dataverse must be delegated in the case the head of the institute/department does not want to endorse that role.
The role of the dataverse administrator is to
- give users permission to create datasets in that dataverse ;
- review and accept publication of datasets in the dataverse ;
- respond to queries/questions sent through the web interface on the dataverse page.
The dataverse administrator can also create sub-dataverses in their dataverse, and delegate their administration rights to other users.
Note
The ‘Contact’ link in the top right corner of each page is context-sensitive ; depending on the dataverse you are looking at, it will direct your email to the person responsible for that dataverse. Therefore, you must make sure to be in the correct dataverse when requesting the creation of a dataset (see below)
Dataset publication
To publish a dataset in a given dataverse, you must first authenticate with your UCLouvain portal account, then request permission to the dataverse administrator to create a dataset. If you do not know who is the administrator of the dataverse, you can simply use the contact link at the top of the dataverse page. Note that you do not need to be the author of the dataset to publish it ; in that case make sure you have all the required agreements to do so in compliance with the intellectual property laws.
Once the dataverse manager has accepted your request, a button labelled Add Data will appear on the right under the dataverse title.
You can create and describe the dataset, and upload files, as explained in the Dataverse Guide.
When the dataset is ready, you must request its publication to the dataverse manager through the Submit for Review button, which is located next to the “Edit” button on the upper-right.
The dataset will be frozen (no more changes will be allowed) and the dataverse administrator will be notified by email and will have the choice to either “Publish” the dataset or “Return to Author”. In the latter case, the dataset will be unfrozen and you will be notified by email that you need to make amendment or modifications before it can be submitted for review again.
Note
Uploading large datasets can sometimes be tricky. The best option is to use the DVUploader tool with the option -uploadviaserver. Do not hesitate to contact us in case of problems.
Once the administrator of the dataverse accepts the publications, the dataset is attributed a DOI and cannot be modified anymore. Any further change brought to the dataset will be recorded under the same DOI but with a distinct version number.
Warning
Please do not publish “test” datasets! This action is irrevocable. A Dataverse test instance is available at https://demo.dataverse.org if you need to do test.
Encryption
If you wish or need to encrypt the data that you are storing on the CISM infrastructure, the Cryptomator software can help you. Cryptomator is designed to work with local and external storage, which can be a cloud-like storage, such as Nextcloud, and One Drive, or with a Samba mount, or even a USB disk.
The encrypted data is stored in a directory of your choice (called vault), and protected by a password that you choose. To share the data, you will need to :
- make sure the directory with the encrypted data is accessible by the recipients ;
- share the secret password with the recipients.
With the secret password, you and the recipients can unlock the vault. It then appears as an additional disk in your laptop. Any file that you copy in that disk is encrypted on the fly and stored in the vault. The synchronisation of the vault is take care of by the technology used to share the data (cloud drive, network drive, etc.).
Whenever you stop working, you will lock the vault and from there, the additional disk disappear and data only exist in encrypted form on your computer. Cryptomator is open-source and free in its desktop version. A licence is necessary for the mobile (Android, iOS) version. An installed for every platform can be downloaded from the Cryptomator website.
Here follows an example use with Nextcloud. The vault will be stored in the Nextcloud folder “testvault” and will be named “SecretFolder”.
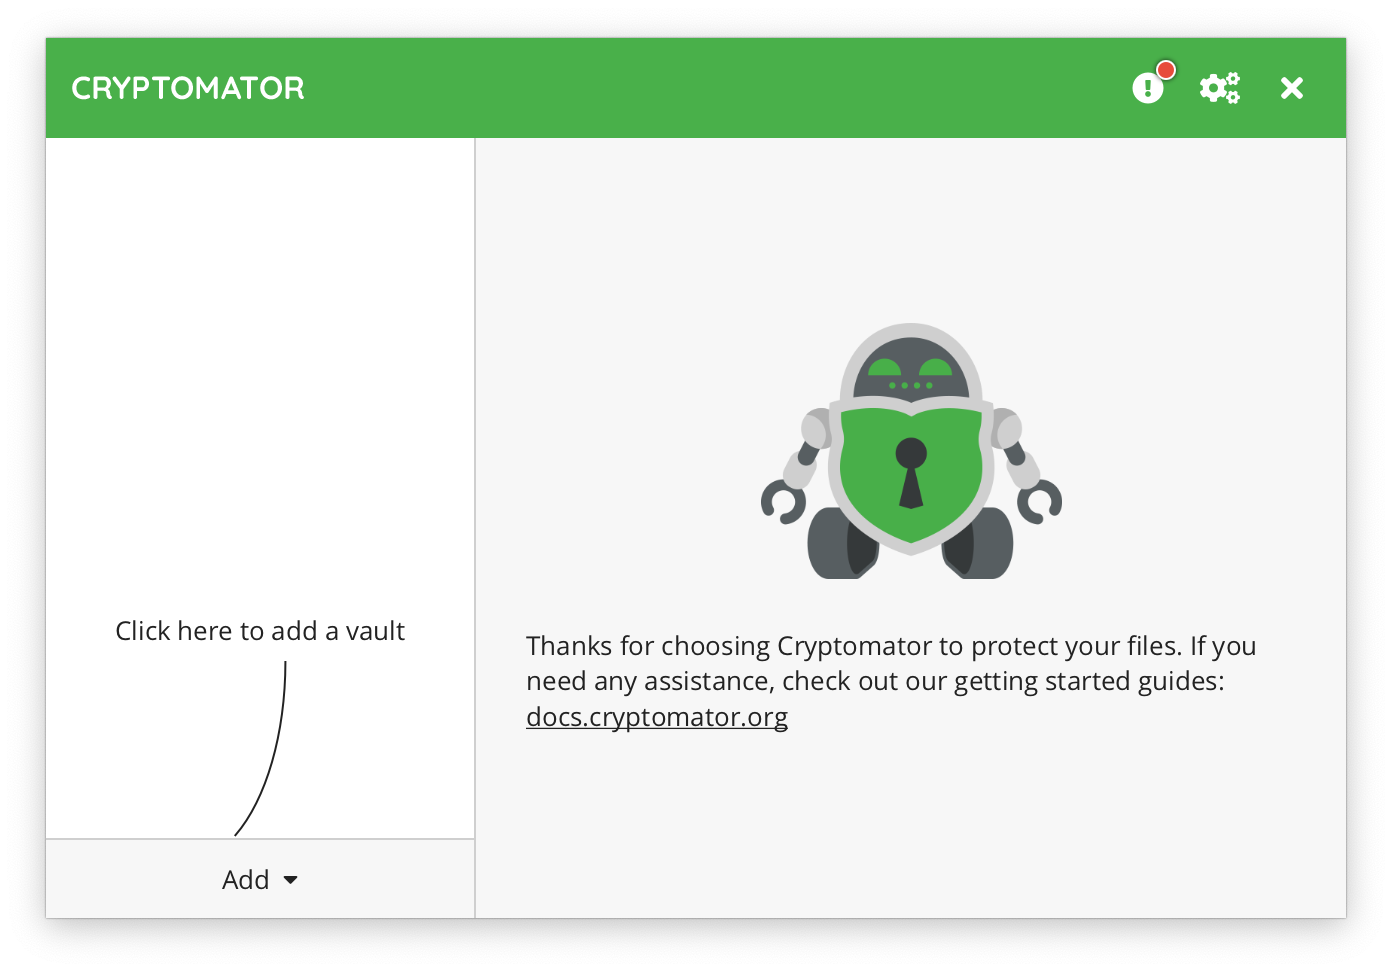
Once installed, you can start Cryptomator ; you will see the main window.
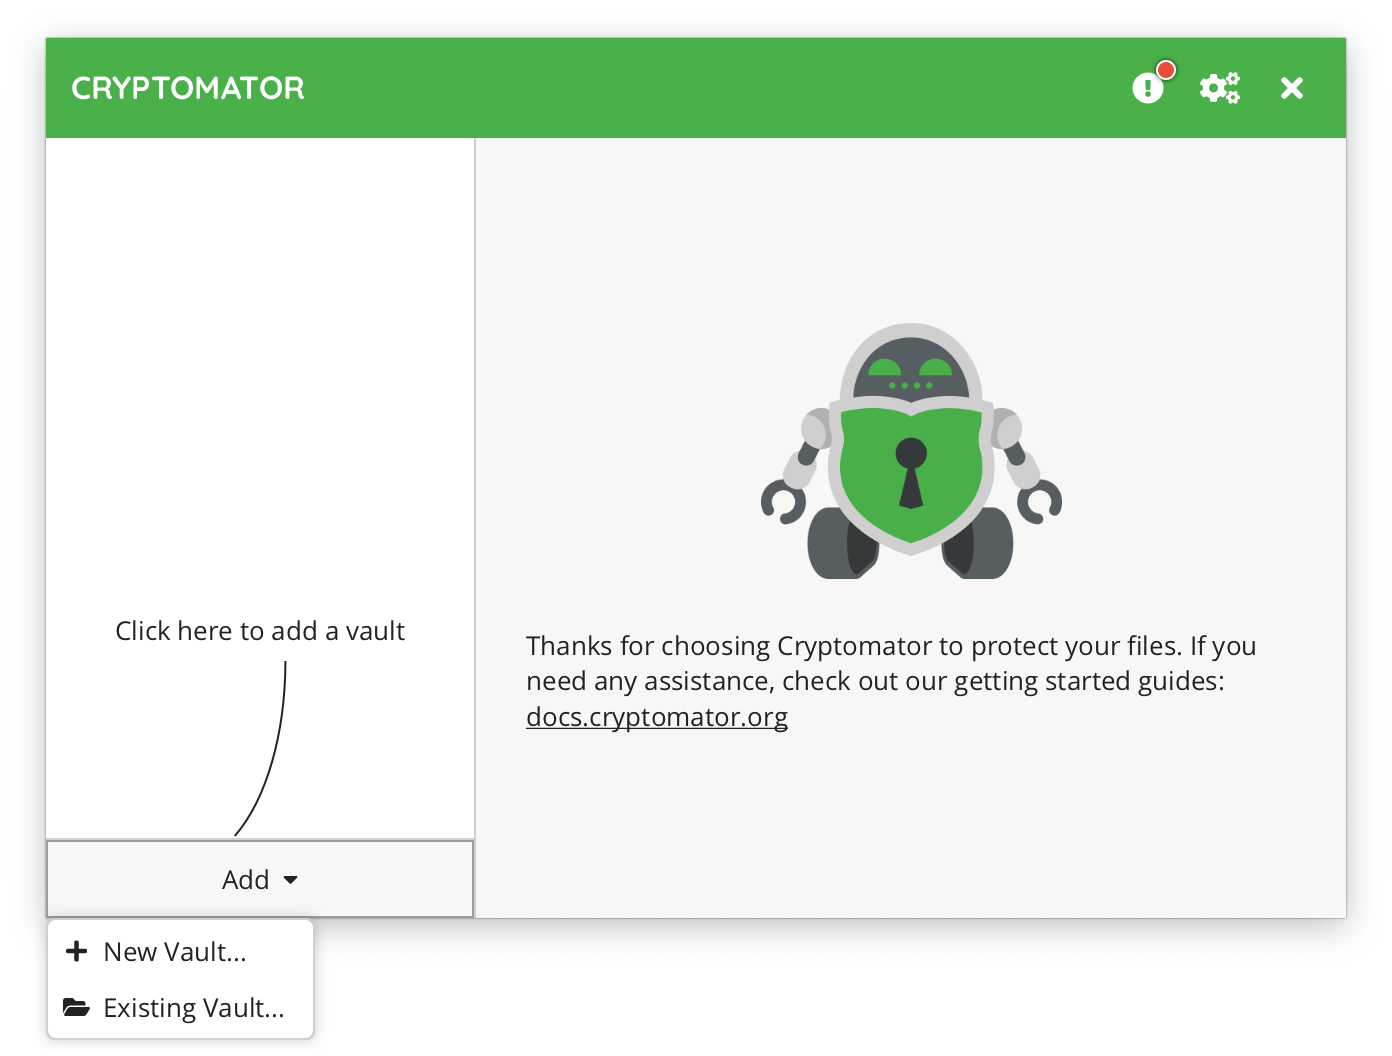
Click Add and choose New vault.
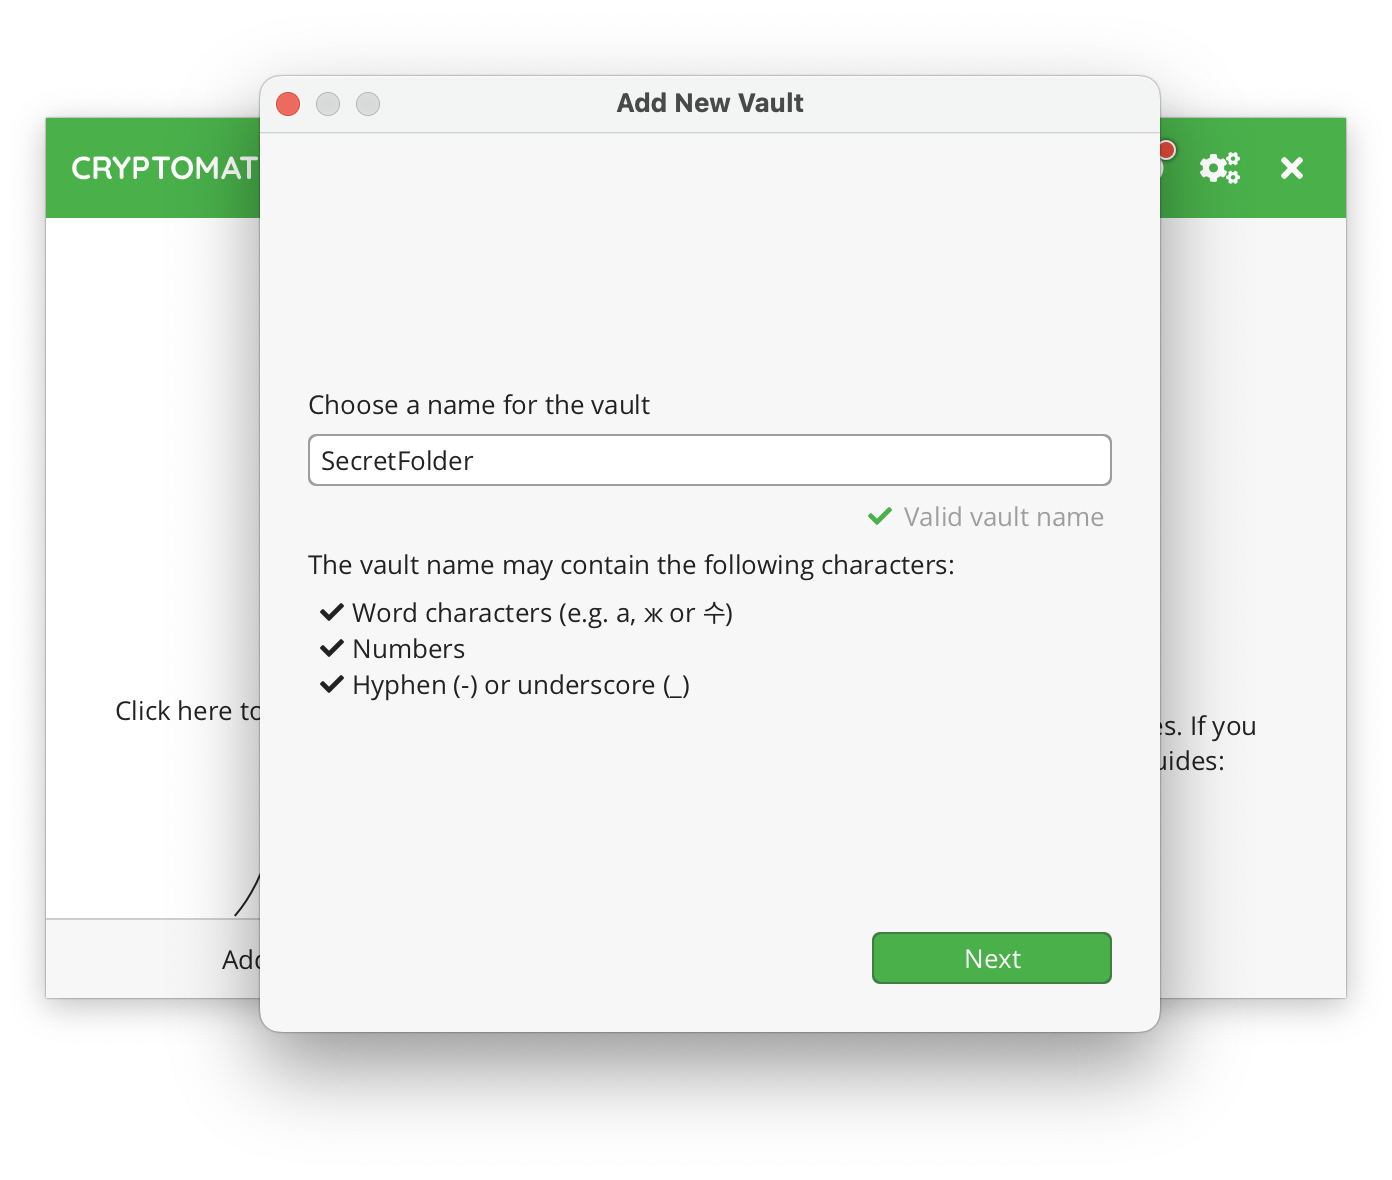
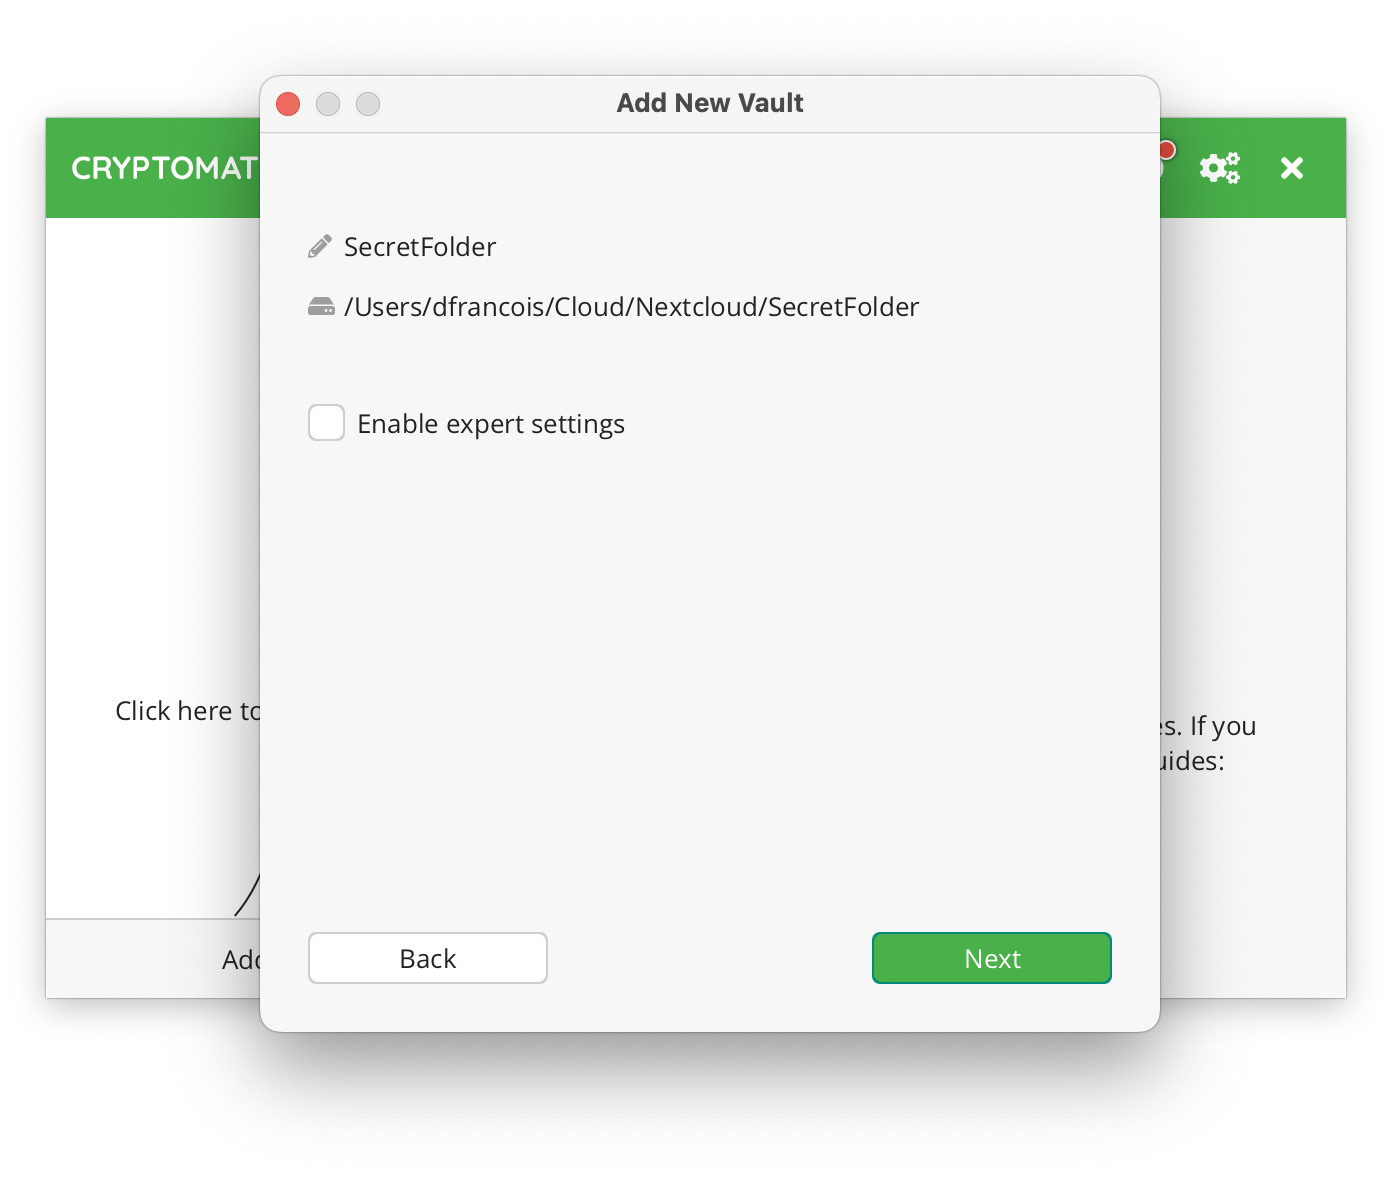
Choose a name for the vault, for instance SecretFolder
And choose a location using the Choose button, for instance here in the Nextcloud folder
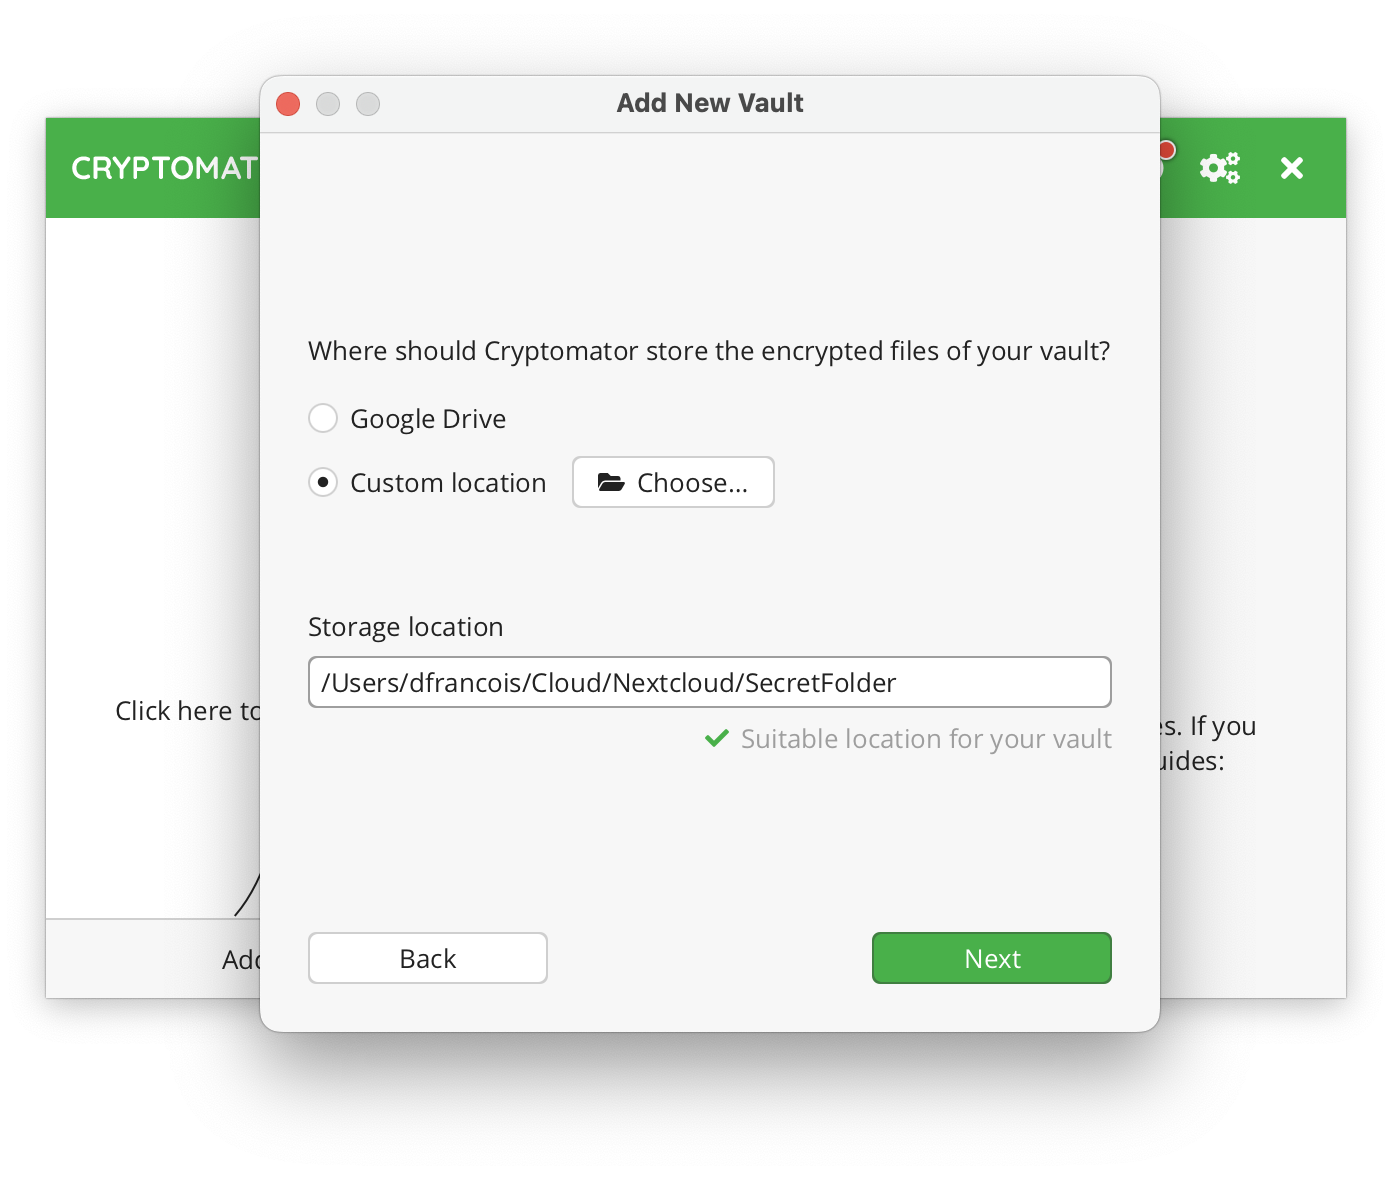
Click Next
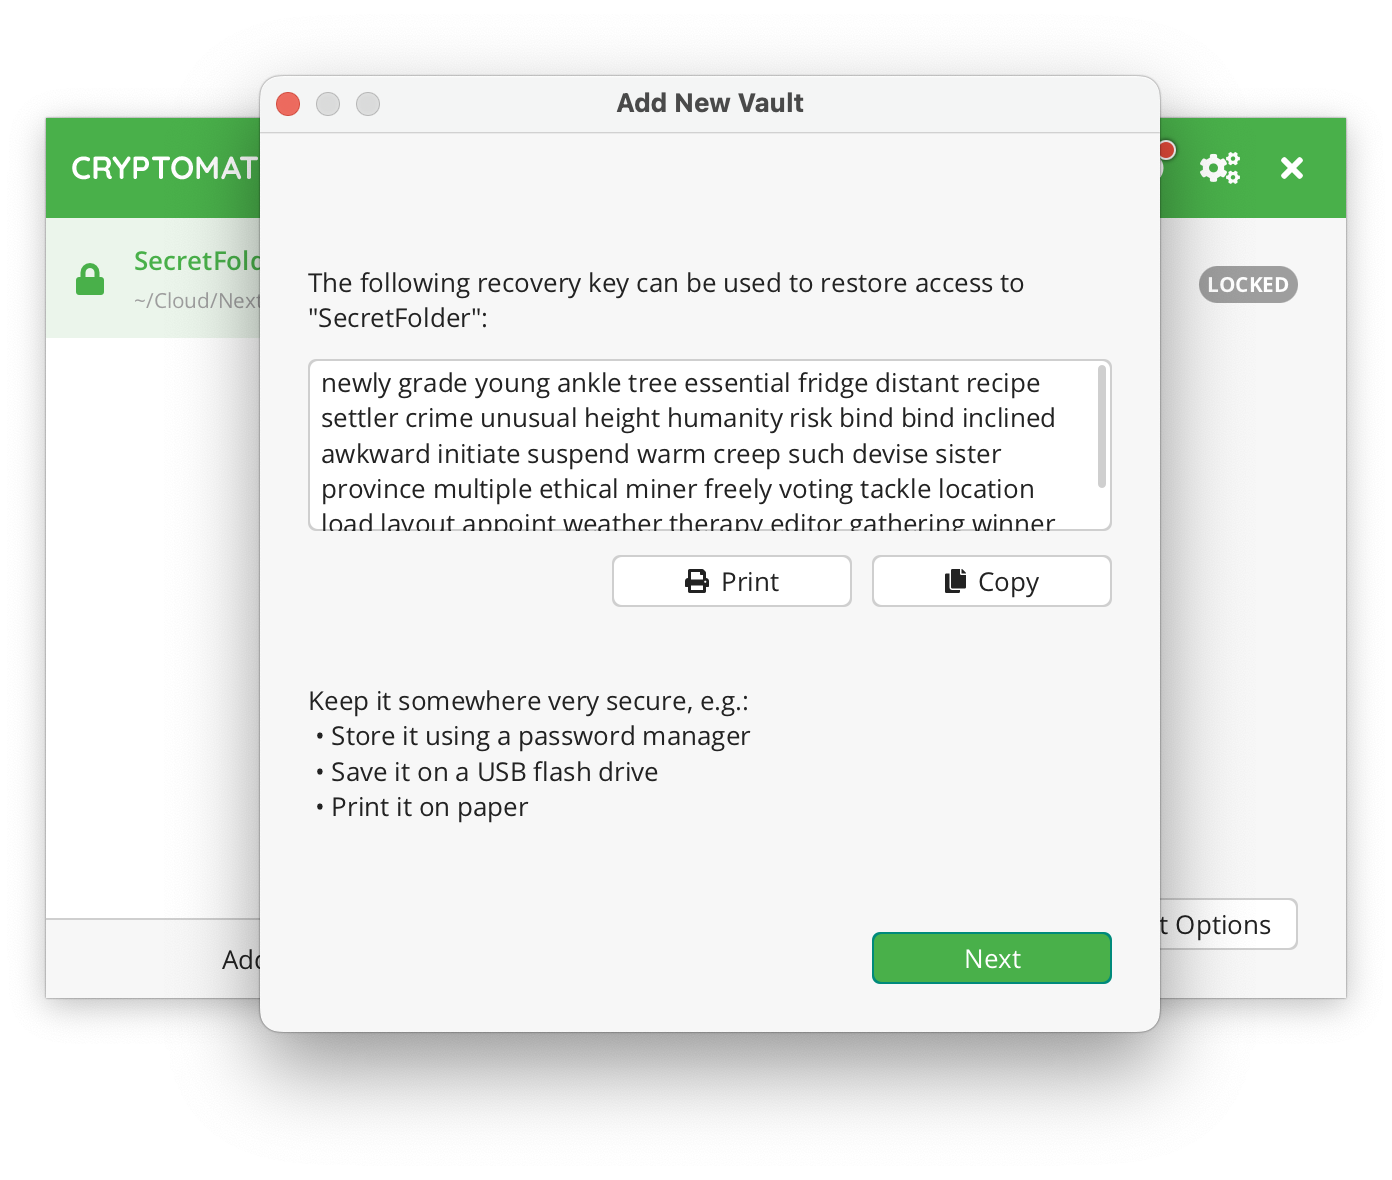
and choose a password. Cryptomator offers to generate a recovery key that can be used to decrypt the vault in case you loose the password.

Cryptomator lists good practices to store that recovery key.
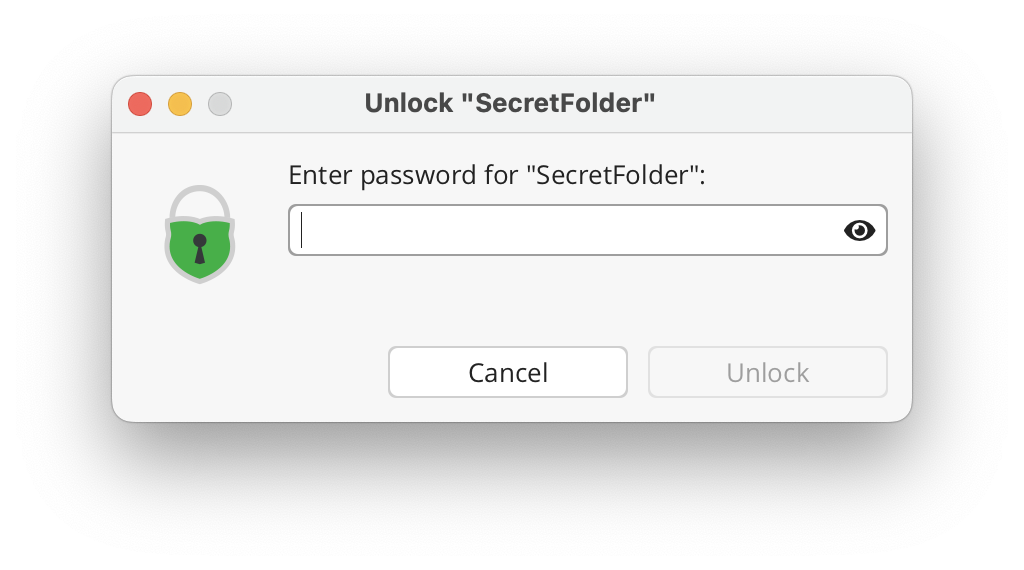
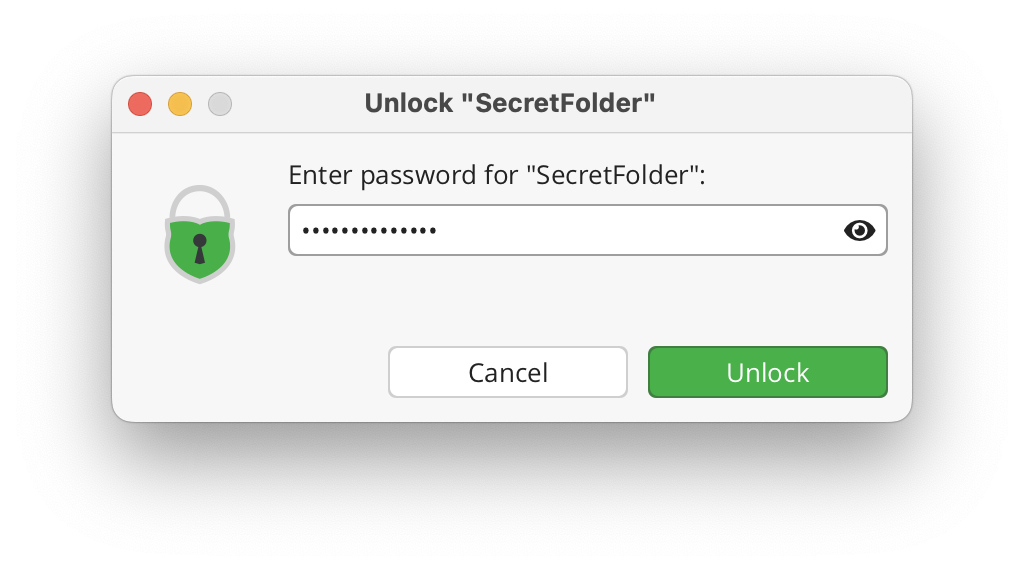
You can now Unlock the vault.

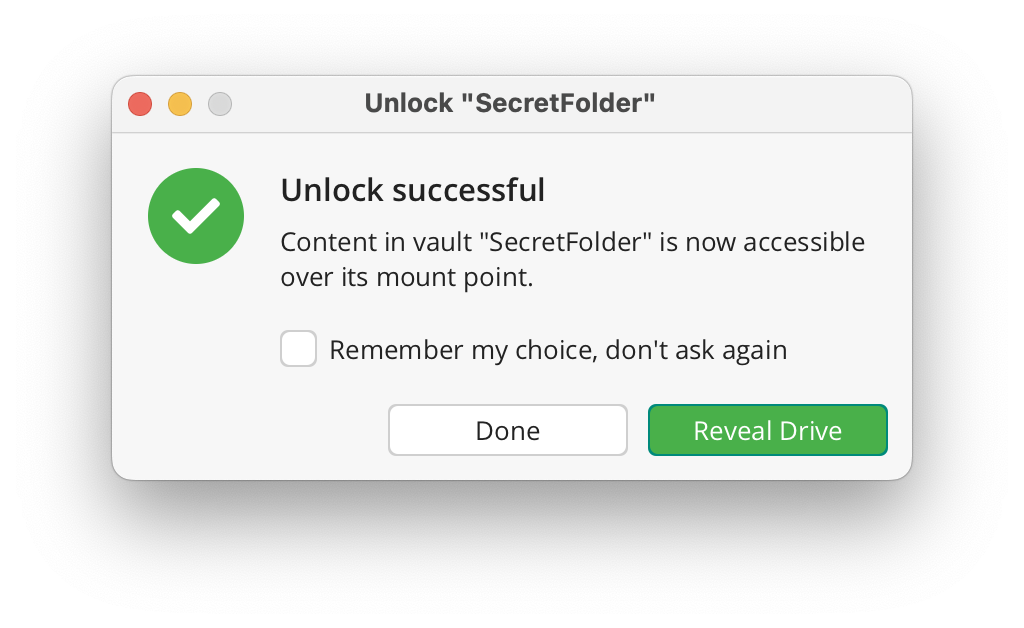
You must provide the secret password, and then
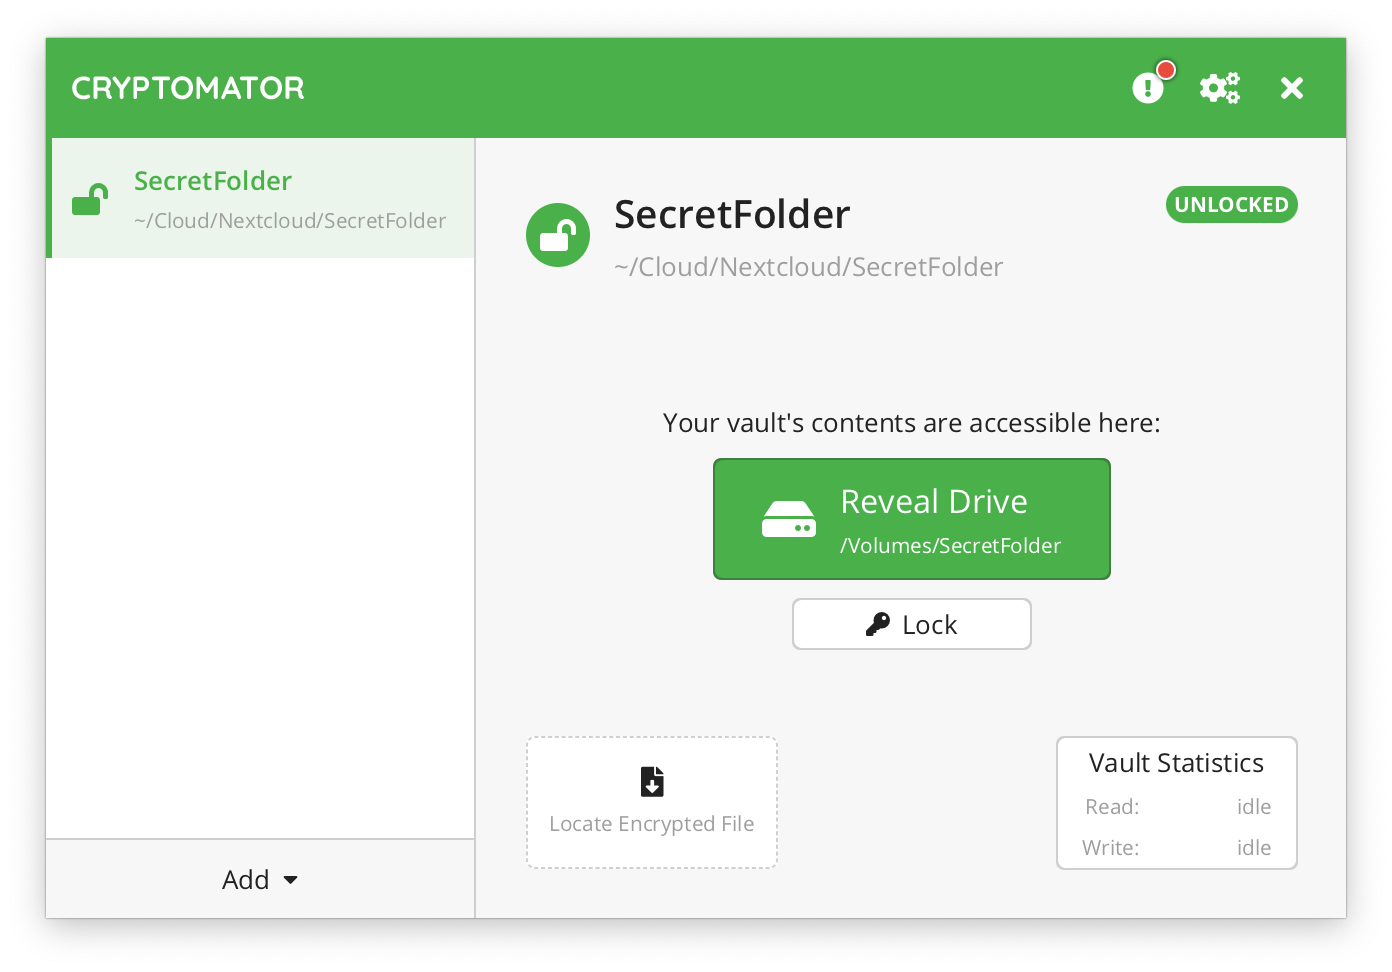
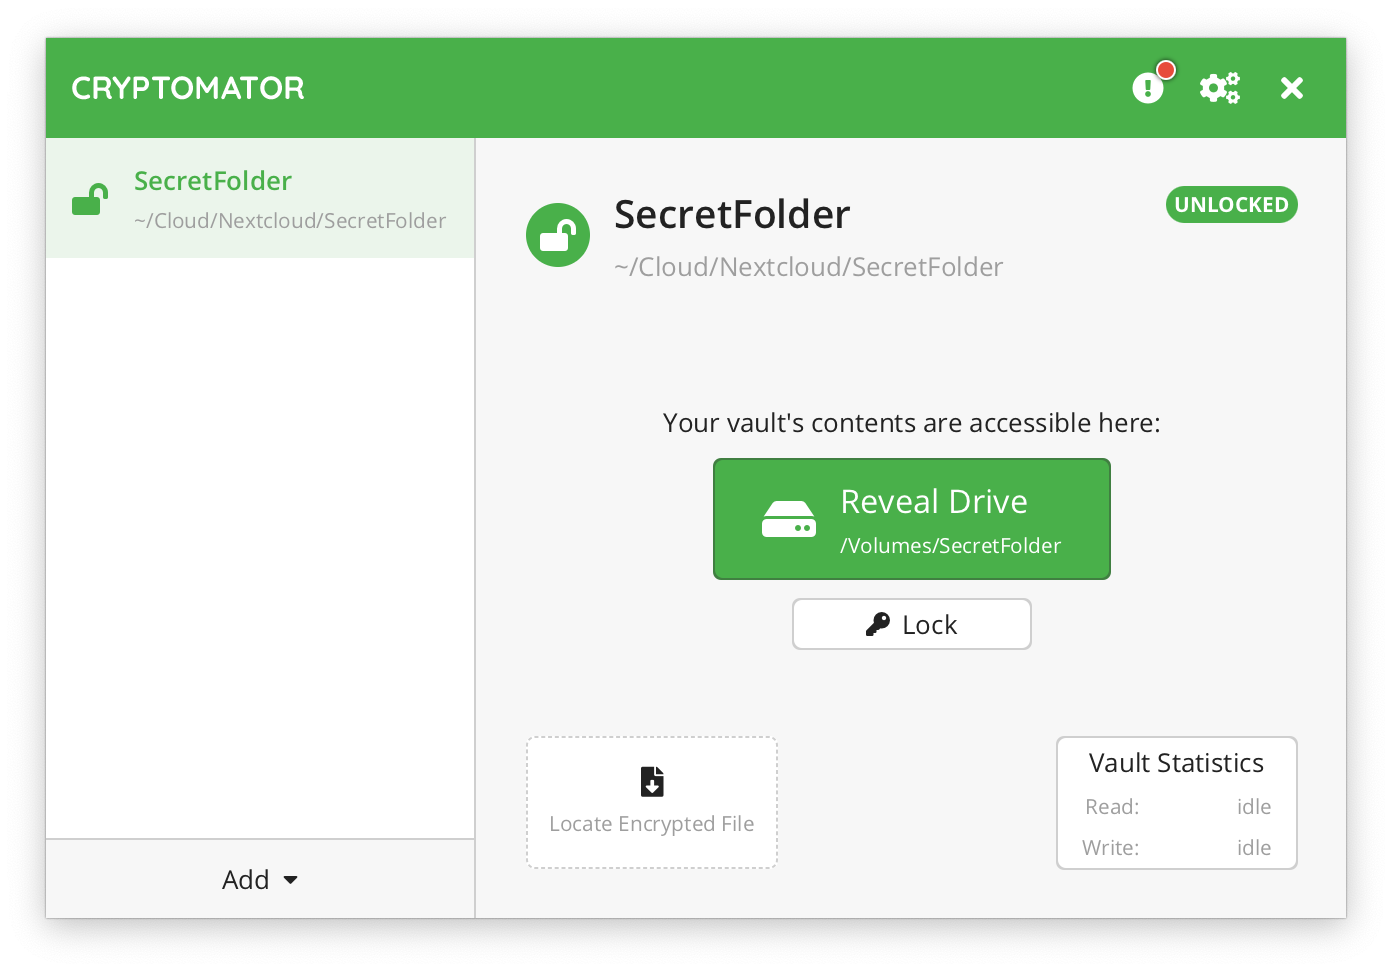
you can Reveal the additional drive:
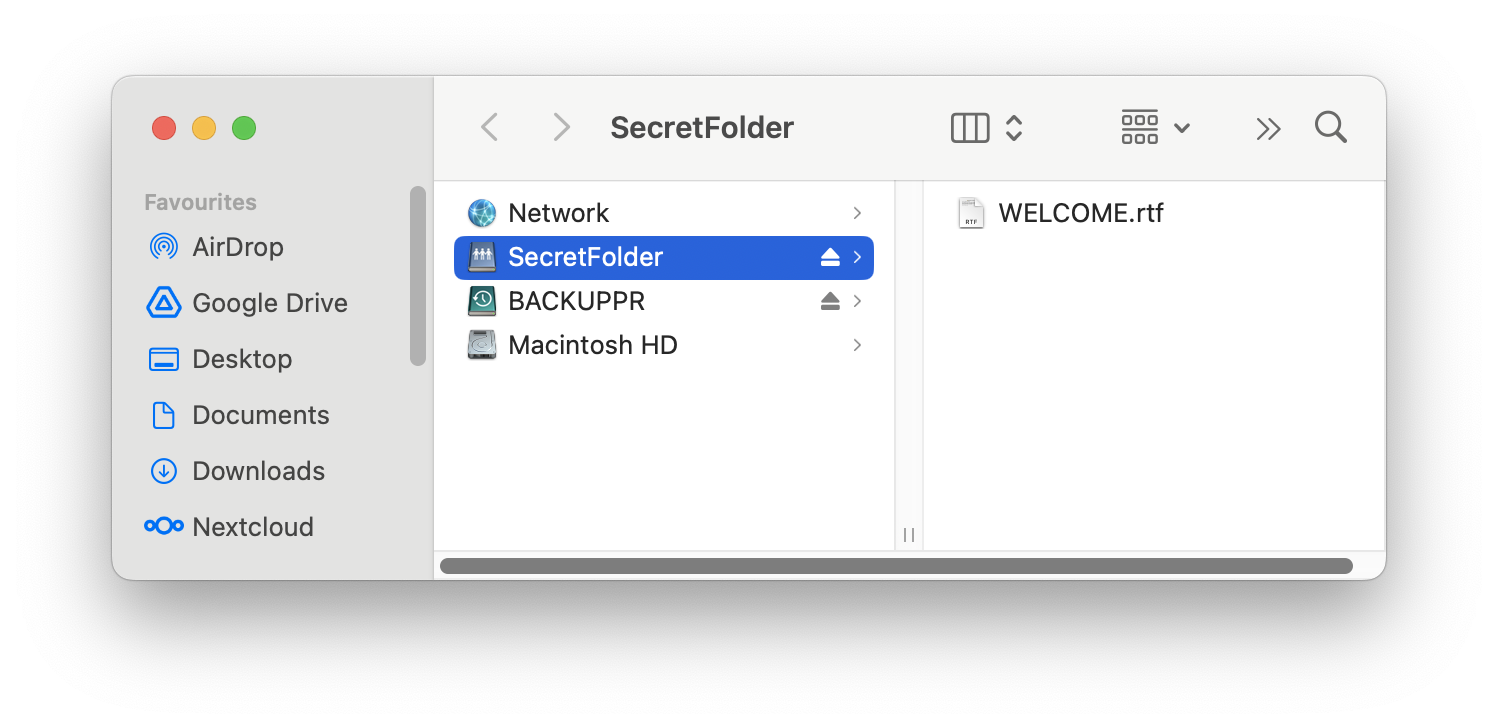
In the Cryptomator window, the vault is shown with an open lock. You have there the option to reveal the drive or lock the vault.
If you lock the vault, it is shown with a closed lock in the list
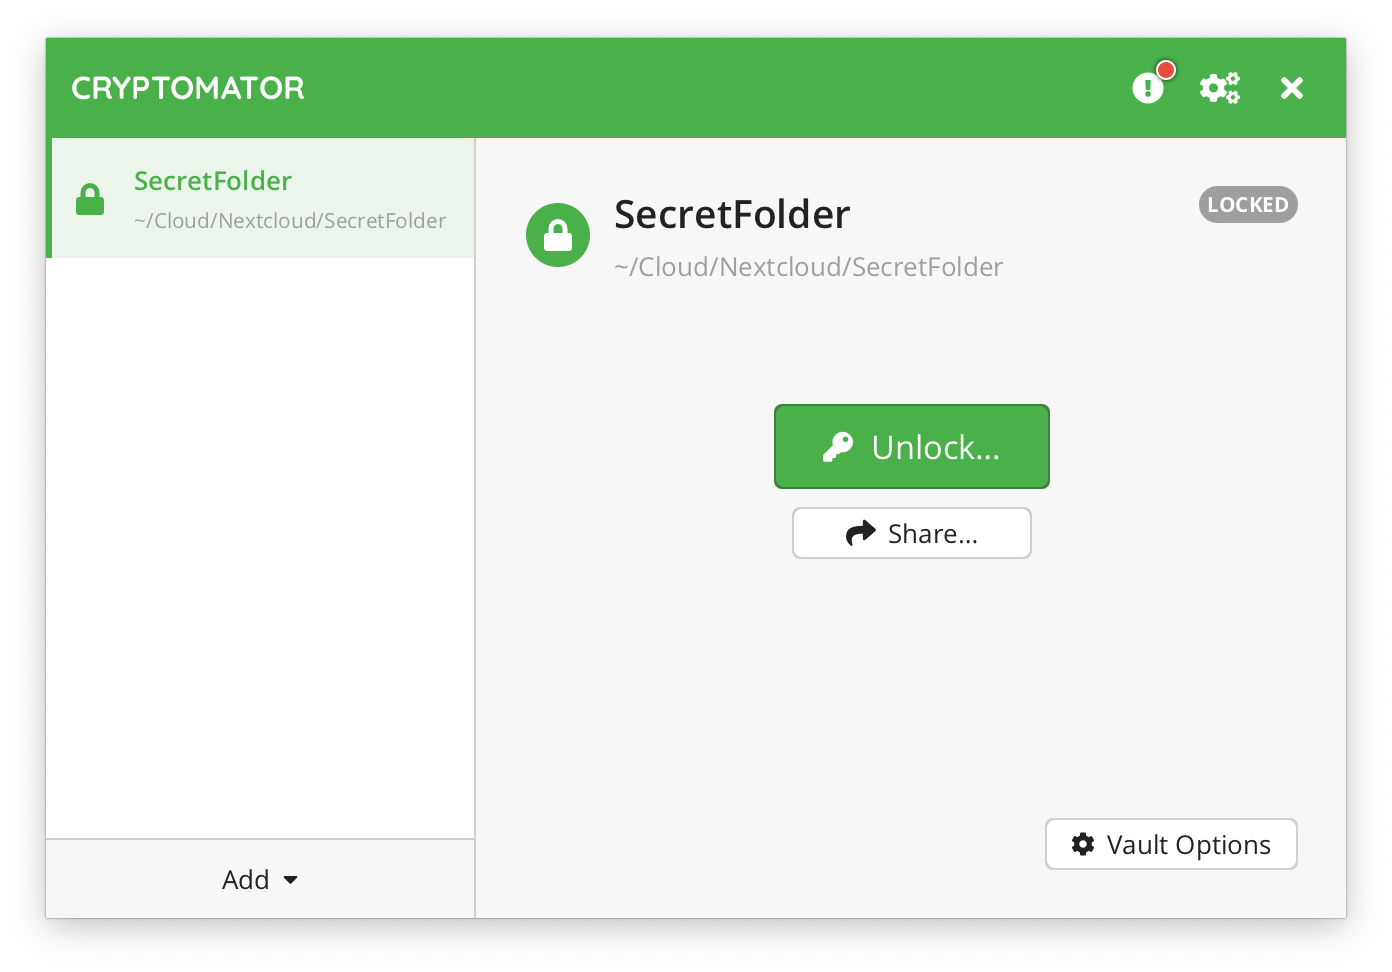
and the additional drive disappears.
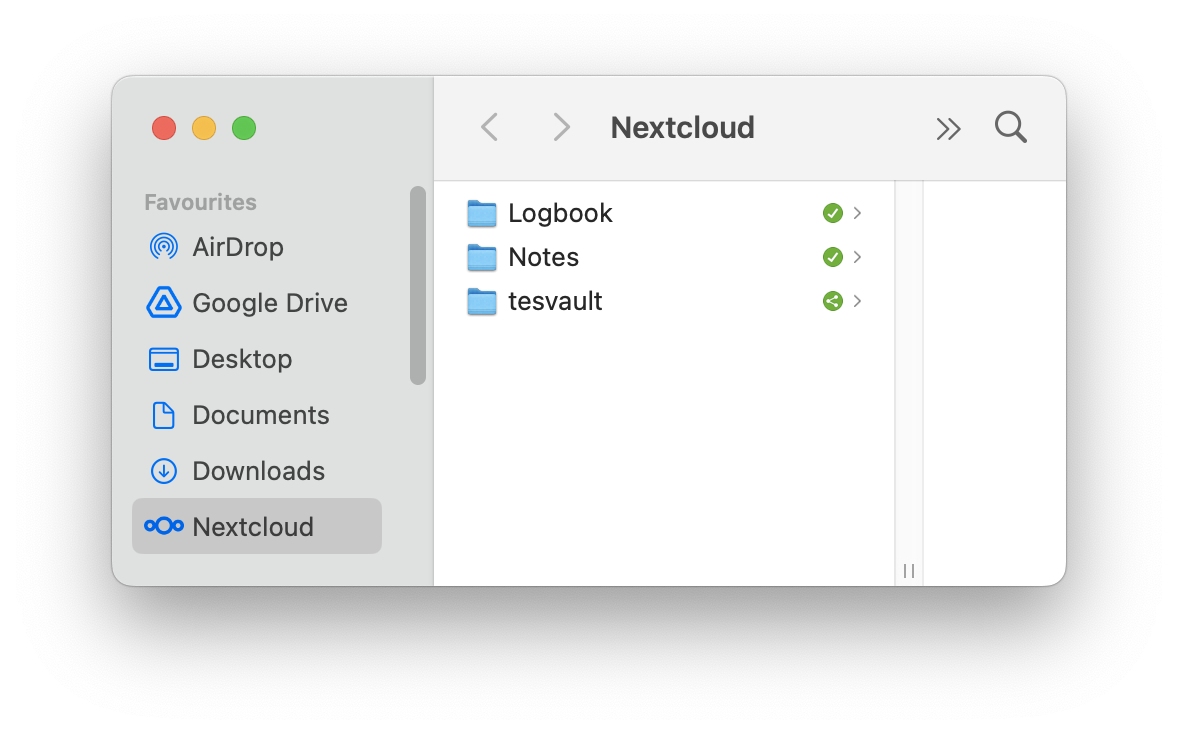
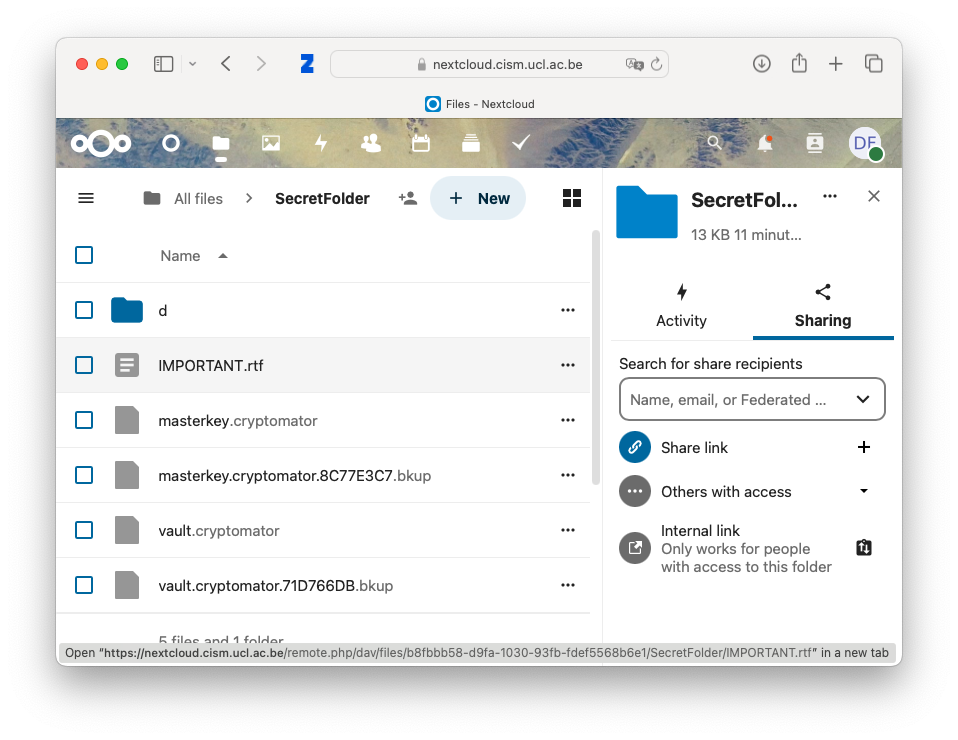
Note that in the Nextcloud web interface, you can only see the encrypted vault. The clear-text files never reach the Nextcloud server. Here, the vault is shared in Nextcloud with another user.
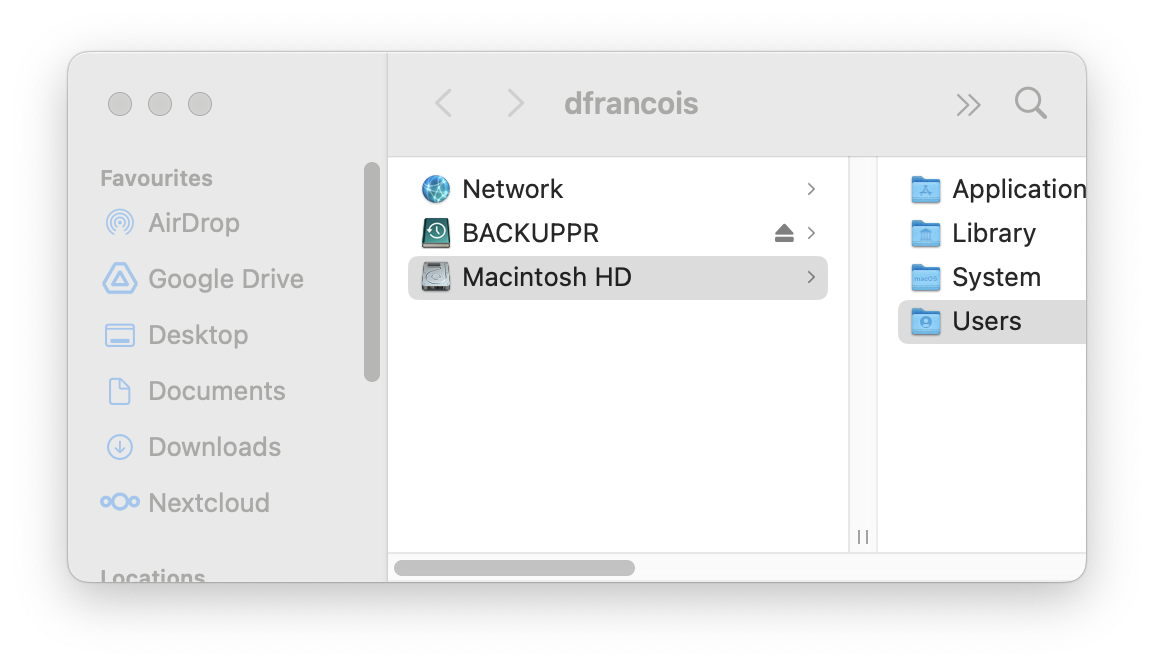
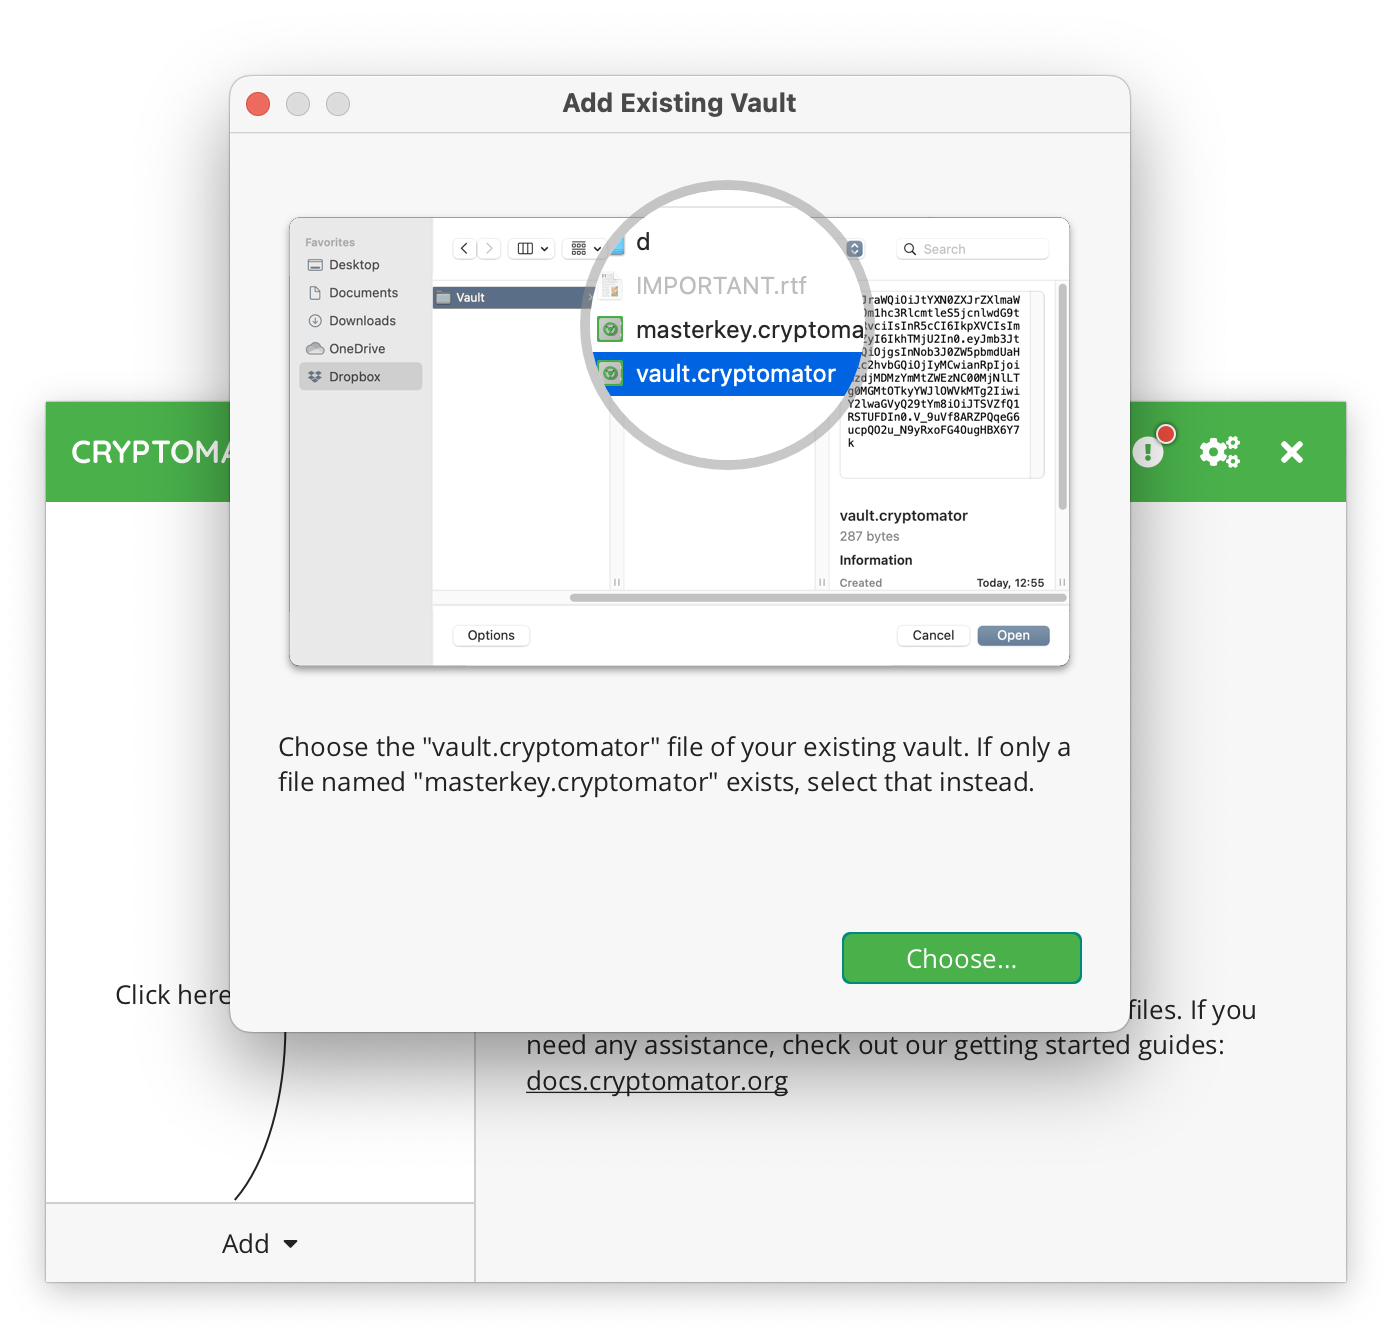
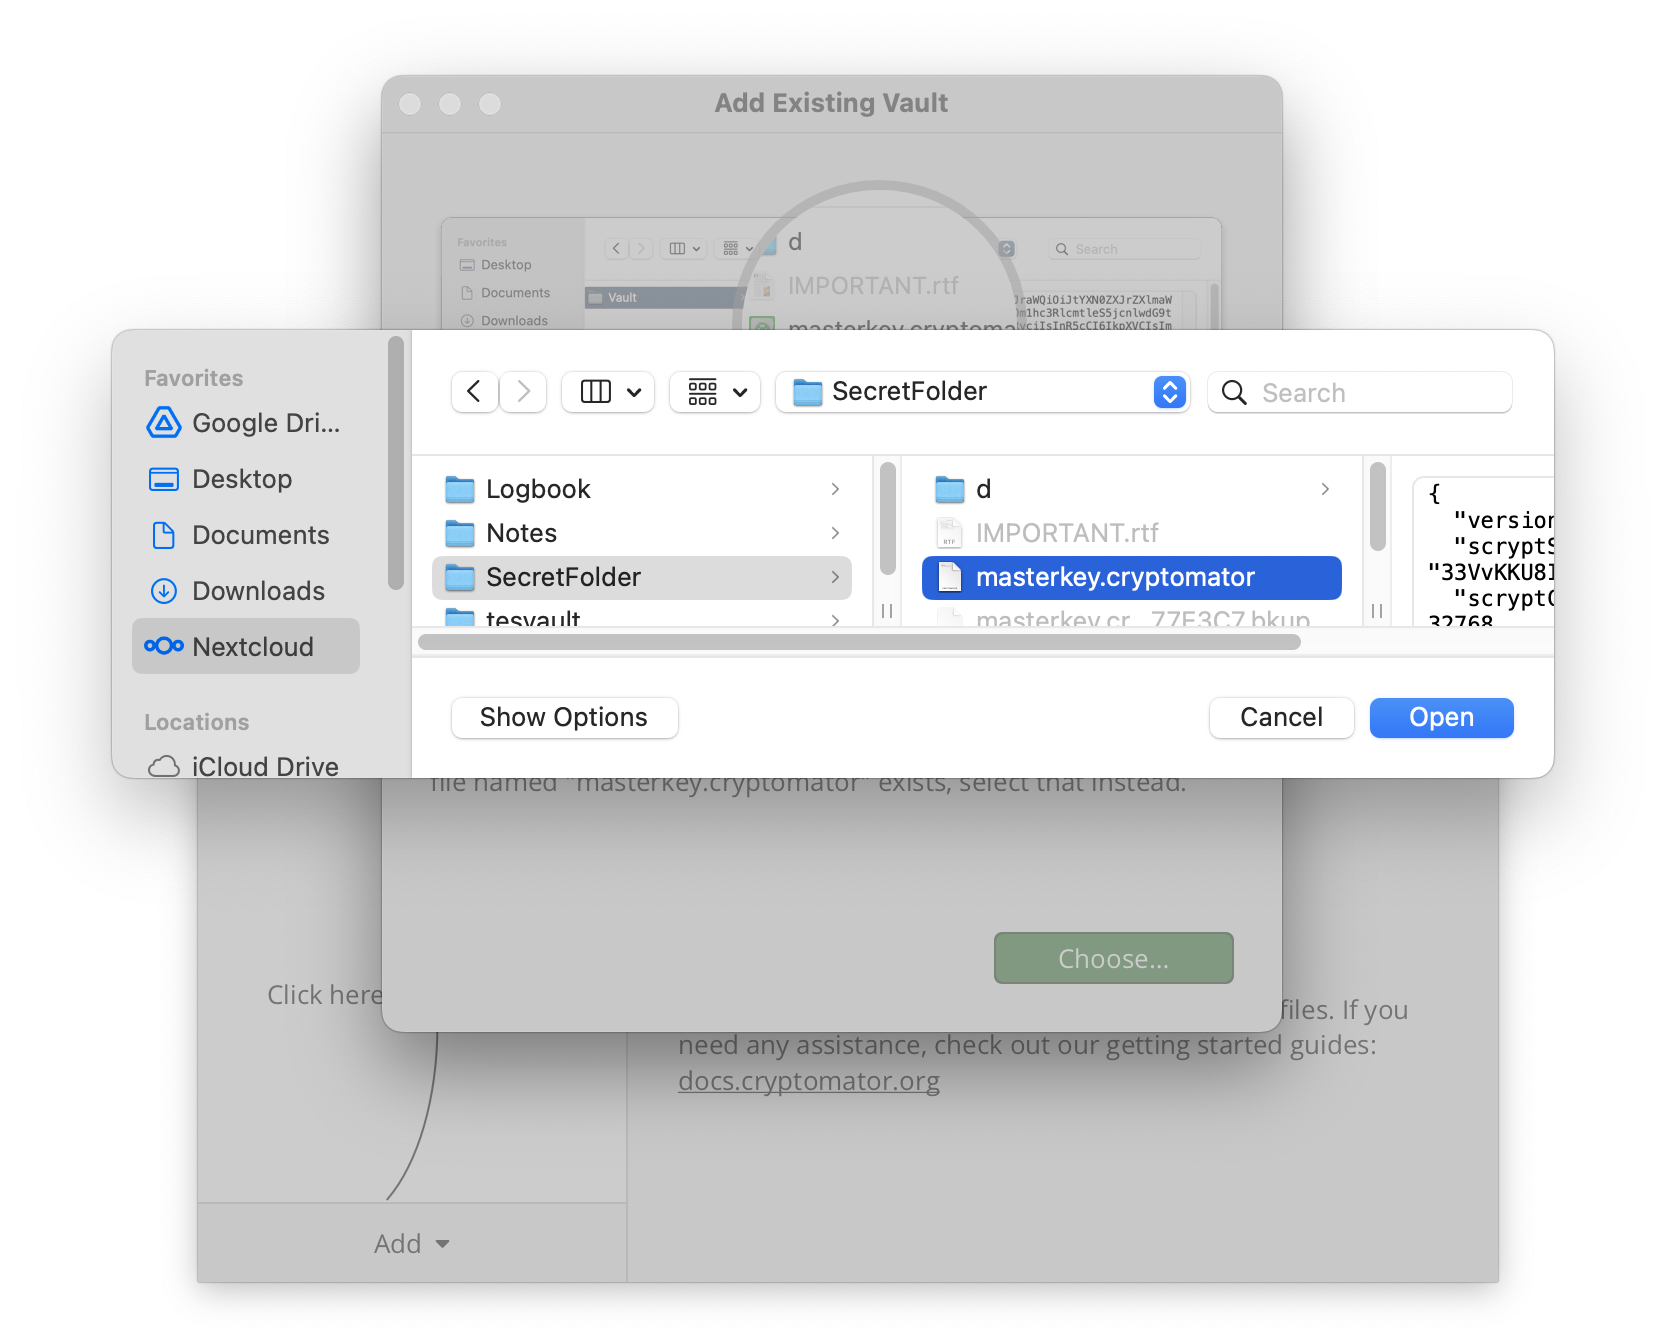
That other user can install Cryptomator, and once the Nextcloud folder is configured, open the Existing vault:

To do that, they will need to locate the vault.cryptomator file in the Nextcloud folder SecretFolder
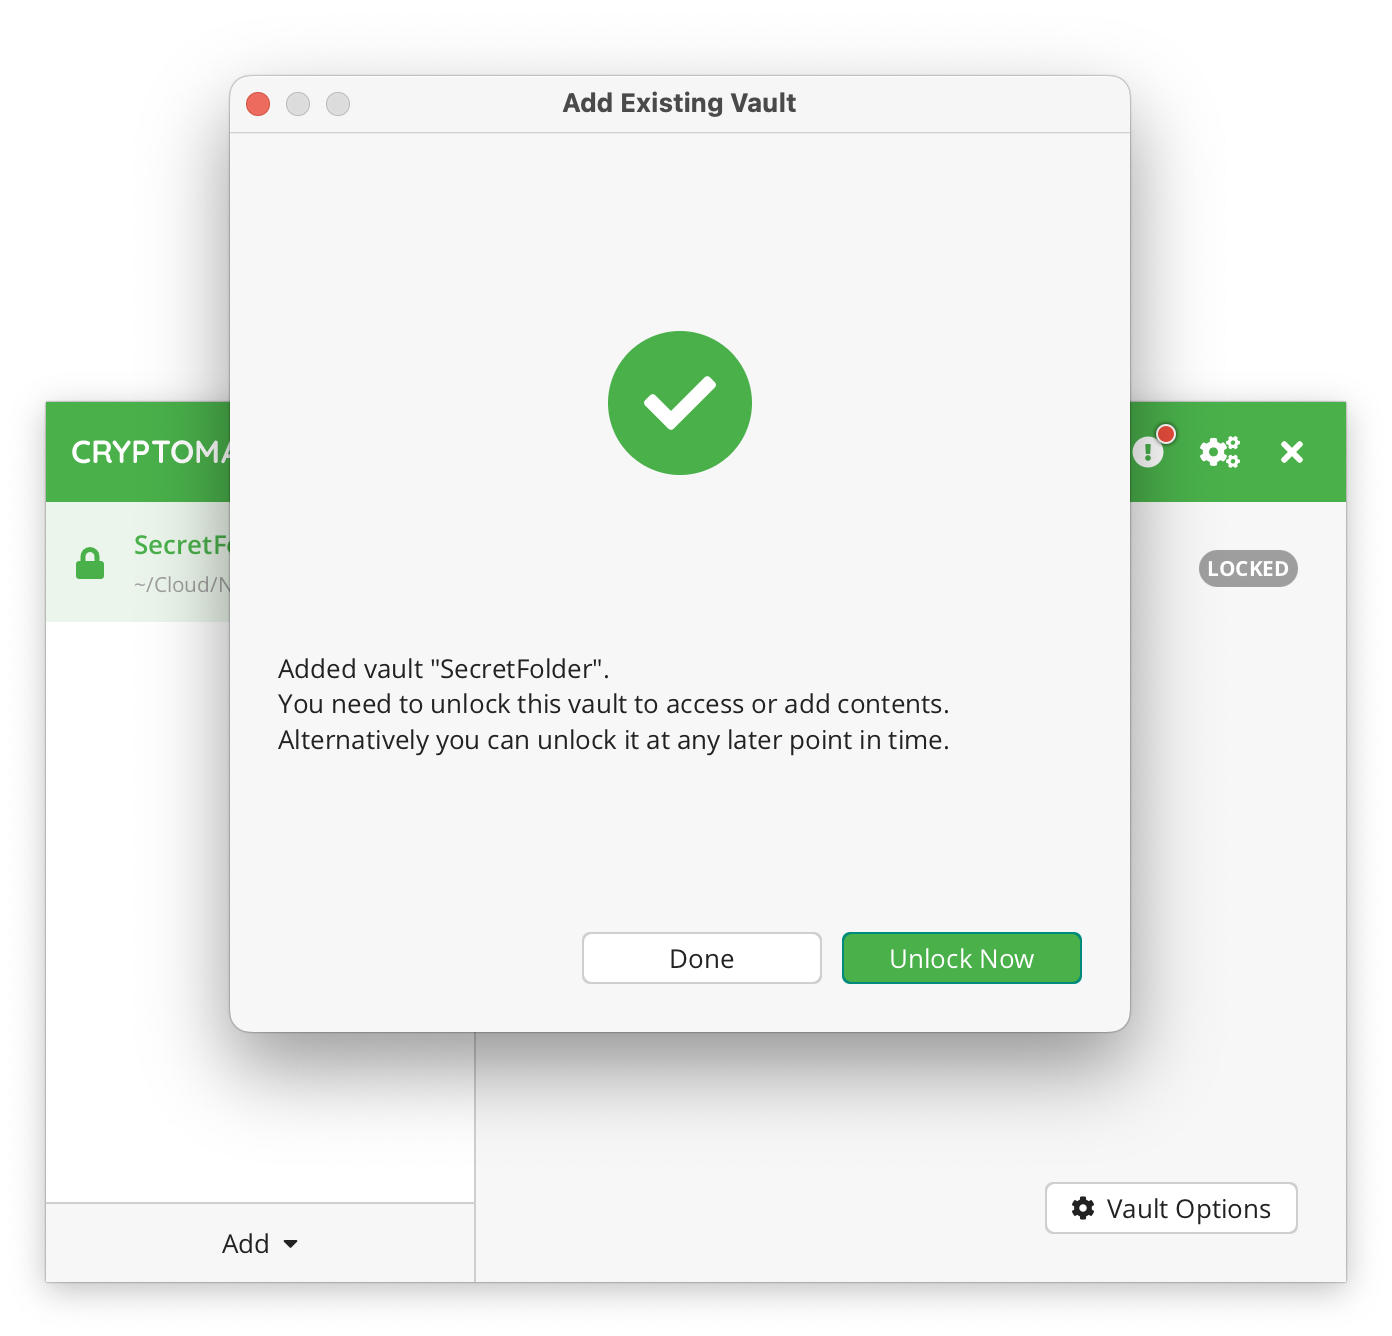
They must then provide the secret password
They can now Reveal the drive.

and Lock the vault when they are done working.
About the costs
The usage of Nextcloud is free ; use Dataverse is free for small volumes and billable for large volumes.
Nextcloud
Nextcloud usage is free of charge, but limited in volume. Users who need more space are invited to use mass storage (see About Storage) and mount it as External Storage in their Nextcloud account, as explained here-above.
Dataverse
To ensure the viability of the service and the maintenance of robust hardware over the lifetime of the data, Dataverse usage is billable per Institute. Every institute is entitled a free share of 1TB. Above that volume, the price is 500€ per TB payable upfront for 15 years, amounting to approximately 33€/TB/year.